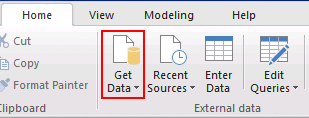
How do I connect Power BI to SQL Server in 5 minutes?
Execute the following steps to connect Power BI to SQL Server. You only need knowledge of Power BI, your own business and the SQL Server administration.
Microsoft SQL Server is a traditional database platform. SQL Server supports ANSI SQL. It is available both as a cloud database on Microsoft Azure as a traditional database running on-premise or hosted.
No technical knowledge is needed nor knowledge on the SQL Server APIs to connect SQL Server to Power BI. This step-by-step plan will tell you exactly which steps you need to go through on Invantive Cloud to create your own dashboard with data from SQL Server.
The steps to connect Power BI to SQL Server are:
- Register an Invantive Cloud account.
- Create a SQL Server database.
- Make the SQL Server database available through the Microsoft OData connector.
- Connect Power BI to SQL Server through the connector.
- Load data from SQL Server into Power BI.
- Build your dashboard.
Invantive Cloud offers a SQL Server connector to download data from SQL Server into Power BI, but there are over 105 other connectors available also for SQL, Power BI Desktop, Power BI Service, Power Query and/or Azure Data Factory.
With the SQL Server connector for Power BI you will by default fetch the data from all connected SQL Server companies in your dashboard. You can limit the number of SQL Server companies that are retrieved in Power BI through the Database settings. For example, you can also limit the connector for Power BI to the data from exactly one SQL Server company. Of course, you can also filter the data by a specific SQL Server company using a filter step in Power BI. The SQL Server connector for Power BI has advanced optimizations for great real-time performance with both a single SQL Server company as well as with hundreds of SQL Server companies.
When you are having questions, please check the forums for SQL Server.
Register Account on Invantive Cloud
Skip this step when you already have an account on Invantive Cloud. Otherwise execute the following steps one time to register an account on Invantive Cloud:
-
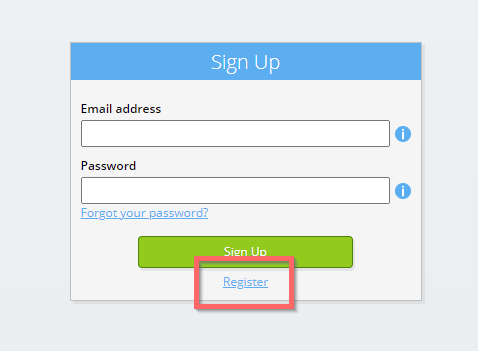
Go to Invantive Cloud start page.
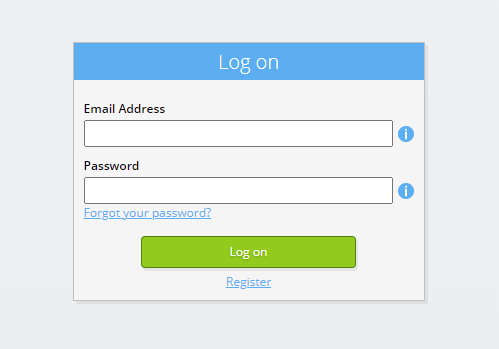
Select the Log on-button.
-
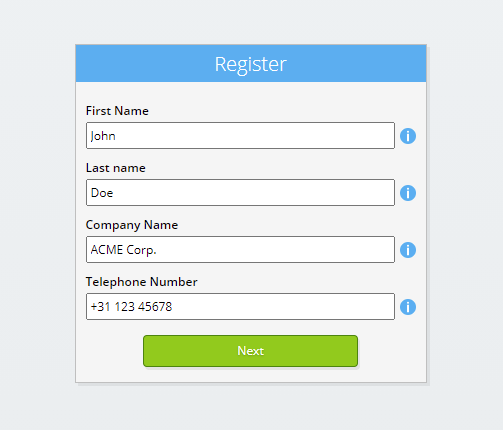
Select the Next-button.
-
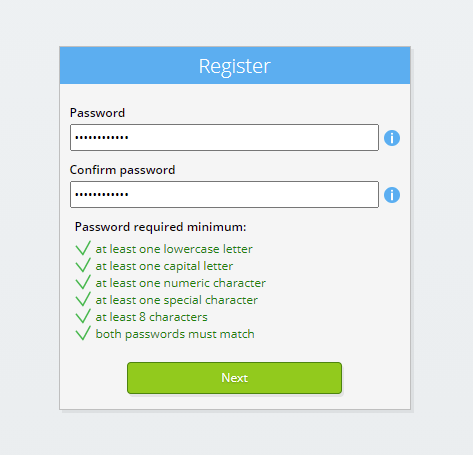
Select the Next-button.
Enter your password and repeat the password you entered.
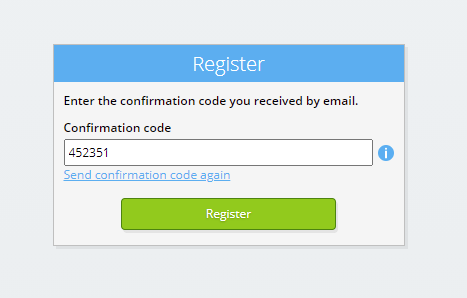
You will receive a six-digit verification code by email within 2 minutes.
-
Select the Sign Up-button.
-
Make sure you have an authentication app installed on your phone. Select the Next-button.
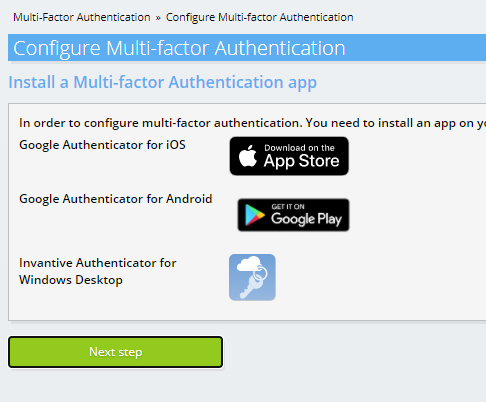
-
Add the displayed QR code to the authentication app, enter the current verification code, and choose "Finish".
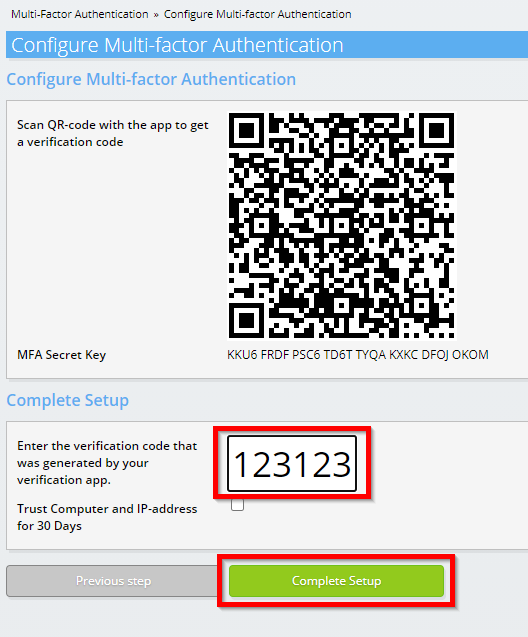
-
The Invantive Cloud dashboard will be shown.
You now have a login code on Invantive Cloud with which you can set up the connection with SQL Server and numerous other platforms. You will use the same Invantive login code and workflow for all other platforms.
Create SQL Server database
In this step, we set up a database with data from SQL Server. The database is "virtual" because it is not a traditional database, but is fed real-time from SQL Server. Invantive Cloud provides Power BI with a real-time link to SQL Server. The database will be used for all your SQL Server reporting with Power BI. So you only need to perform these steps once.
You now have a login code on Invantive Cloud with which you can set up the connection with {0} and numerous other platforms. You will use the same Invantive login code and workflow for all other platforms.
-
Click the Add Database button.
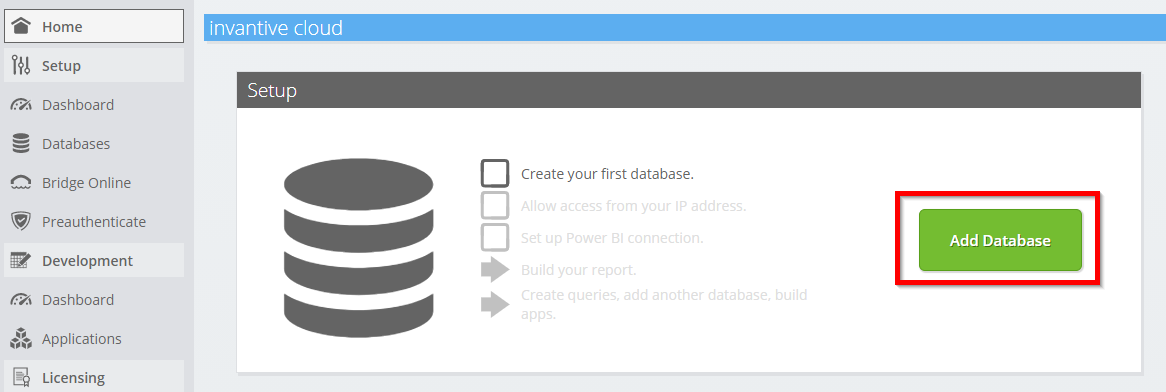
-
Please fill out the form with login information for SQL Server.
Select the OK-button.
Congratulations! You can now process data from SQL Server within the Invantive Cloud website. You can do this for example with the interactive SQL editor.
Grant connection from Power BI access to SQL Server
To retrieve the data from Power BI we create a link via Invantive Bridge Online. This creates a "bridge" between the cloud of Invantive and the standard OData connector that is available in every version of Power BI. You do not need to install anything locally: no connector, no ado.NET provider and no Power BI add-on neither.
Execute the following steps to safely use the data from SQL Server outside of Invantive Cloud:
Next to the database you will find an orange text requesting you to allow access from your current location (IP address). Select the nearby orange button.
If you want to use the data through the web versions of Power BI, you must completely disable IP address checking by entering an asterisk ("*").
You are now ready to import the SQL Server data into Power BI.
Configure Power BI connector for SQL Server
You will now pull in Power BI data from SQL Server through the established link.
Execute the following steps:
-
Enter the Bridge Online URL of the SQL Server database in the window. Select the OK-button.

Sometimes Power BI does not accept the URL and a yellow warning sign appears. If so, add a '/' to the end of the URL and remove it again. Select the OK-button.
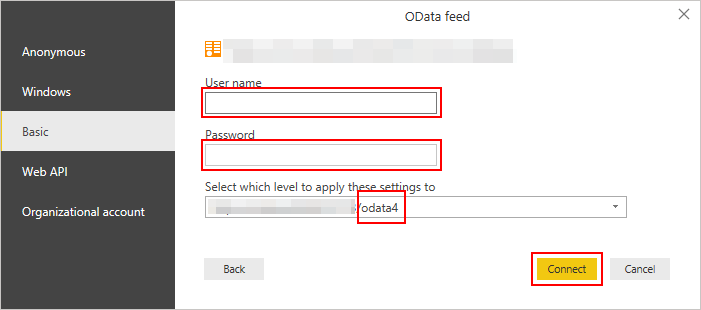
A message about missing authentication will appear if you have not previously recorded your login credentials in Power BI.
Enter the user name for Invantive Cloud.
Enter the password that you have set for Invantive Cloud.
You do not need to change the "Scope" under the "Choose which Level" menu unless you have specific reasons.
Select the OK-button.
You only need to perform these steps for linking SQL Server with Power BI once. From now on, you will find the linked data source in Power BI beneath "Recent Sources" in the menu.
Load Data in Power BI from SQL Server
A list of SQL Server tables appears for use in your dashboard. You can find these tables and their meaning on documentation.invantive.com. A limited number of tables from the SQL Server documentation of Invantive are not visible from Power BI because they have parameters.
Execute the following steps to load data into your dashboard:
Select the table you want to use in the Navigator. You can also select multiple tables at once.
A preview of the data from SQL Server appears to the right when you select a table.
Select the OK-button.
All data from all selected tables are loaded directly by the connector into Power BI.
Loading can take a short or long time depending on the amount of data. The first time it takes noticeably longer anyway because the data is not yet in the "cache".
Advanced Power BI users can use the "Transform" button to increase the loading speed from Power BI by applying filters.
The SQL Server connection will cache the data. Your data will be stored encrypted. Power BI, especially during dashboard development, often retrieves the same data again. This cache provides a noticeable acceleration. The cached data is refreshed according to the duration you set at the virtual SQL Server database. By default, the duration is set to 4 hours; therefore, you will receive the same data for 4 hours via the connection.
Build a SQL Server Dashboard
In Power BI the data is now ready for use in the dashboard.
Now build your reports or dashboards.
Click "Refresh" to refresh the SQL Server data from Invantive Bridge Online.
Additional features
After an initial success with new insights through a custom report or analysis on SQL Server, you are going to create multiple dashboards on your SQL Server data. It is then more efficient to use Microsoft data flows so that the data is shared between the different dashboards within the online Power BI platform.
You might also use other Invantive connectors for a report or analysis. For this you can follow the steps described above. All Power BI connectors of Invantive work identically; only the registration of the database depends on the data source.
Finally, using Invantive Cloud you can also build software in the form of small web applications. This software can use the data in your database.
