How do I connect Tableau to Mail in 5 minutes?
Execute the following steps to connect Tableau to Mail. You only need knowledge of Tableau and your own business.
Mail allows applications enabling sending of email data using SQL queries.
No technical knowledge is needed nor knowledge on the Mail APIs to connect Mail to Tableau. This step-by-step plan will tell you exactly which steps you need to go through on Invantive Cloud to create your own Azure data warehouse with data from Mail.
The steps to connect Tableau to Mail are:
- Register an Invantive Cloud account.
- Create a Mail database.
- Make the Mail database available through the Tableau OData connector.
- Connect Tableau to Mail through the connector.
- Load data from Mail into Tableau.
Invantive Cloud offers a Mail connector to download data from Mail into Tableau, but there are over 105 other connectors available also for SQL, Power BI, Power Query, Qlik, Tableau og Azure Data Factory.
Do you have a large environment? For effective downloads, you can of course also filter the data.
When you are having questions, please check the forums for Mail.
Register Account on Invantive Cloud
Skip this step when you already have an account on Invantive Cloud. Otherwise execute the following steps one time to register an account on Invantive Cloud:
-
Go to Invantive Cloud start page.
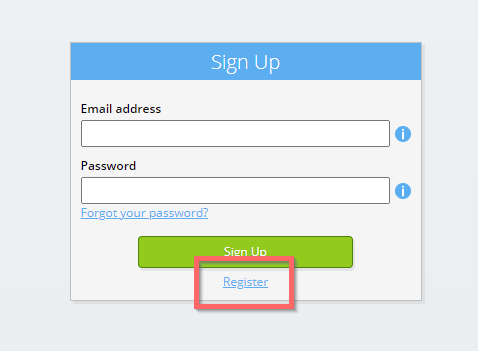
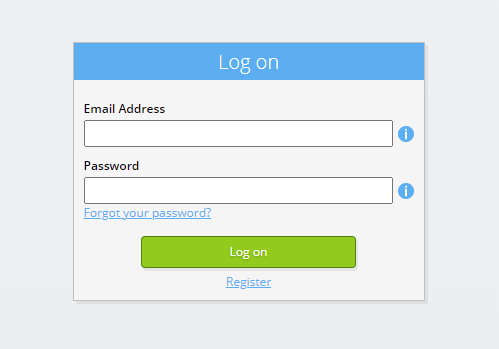
Select the Log on-button.
-
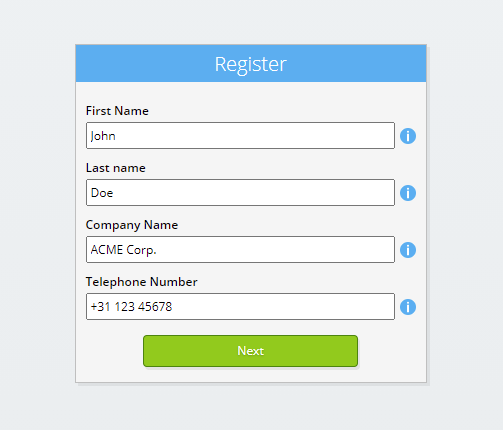
Select the Next-button.
-
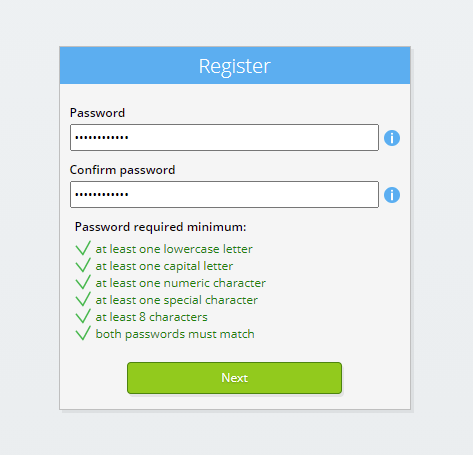
Select the Next-button.
Enter your password and repeat the provided password.
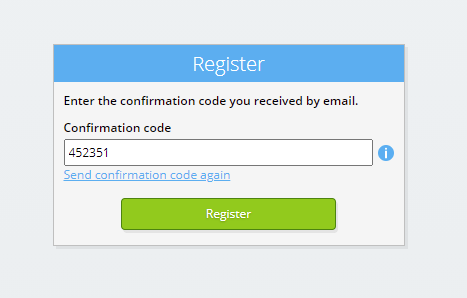
You will receive a six-digit verification code by email within 2 minutes.
-
Select the Sign Up-button.
-
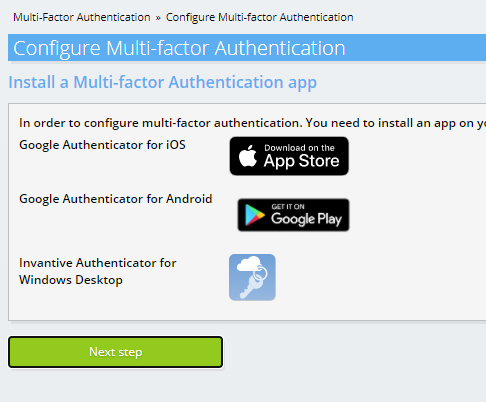
Make sure you have an authentication app installed on your phone. Select the Next-button.
-
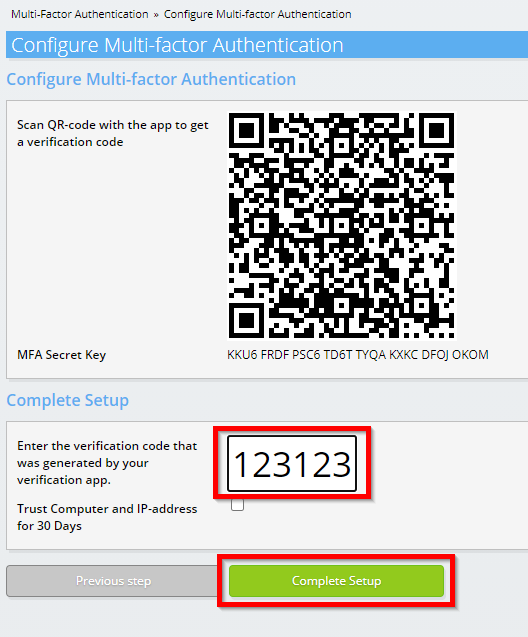
Add the displayed QR code to the authentication app, enter the current verification code, and choose "Finish".
-
The Invantive Cloud dashboard will be shown.
You now have a login code on Invantive Cloud with which you can set up the connection with Mail and numerous other platforms. You will use the same Invantive login code and workflow for all other platforms.
Create Mail database
In this step, we set up a database with data from Mail. The database is "virtual" because it is not a traditional database, but is fed real-time from Mail. Invantive Cloud provides Tableau with a real-time link to Mail. The database will be used for all your Mail reporting with Tableau. So you only need to perform these steps once.
-
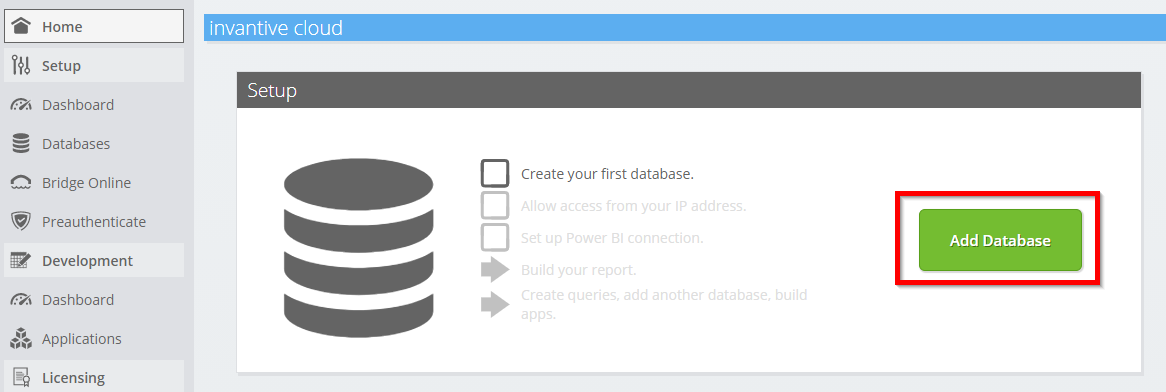
Click the Add Database button.
-
Please fill out the form with login information for Mail.
Select the OK-button.
Congratulations! You can now process data from Mail within the Invantive Cloud website. You can do this for example with the interactive SQL editor.
Grant connection from Tableau access to Mail
To retrieve the data from Tableau we create a link via Invantive Bridge Online. This creates a "bridge" between the cloud of Invantive and the standard OData connector that is available in every version of Tableau. You do not need to install anything locally: no connector, no ado.NET provider and no Tableau add-on neither.
Execute the following steps to safely use the data from Mail outside of Invantive Cloud:
Next to the database you will find an orange text requesting you to allow access from your current location (IP address). Select the nearby orange button.
You can completely disable IP address checking by entering an asterisk ("*").
You are now ready to import the Mail data into Tableau.
Configure Tableau connector for Mail
You will now pull in Tableau data from Mail through the established link.
Please note again that Invantive Cloud under the hood handles all complexity such as setting up credentials such as a refresh token, acquiring an access token, optimizing and parallelizing access, accessing an API within the rate limits, scopes and security restrictions. There is absolutely no need for knowledge on complex technical topics such as OAuth access tokens or API.
Execute the following steps:
-
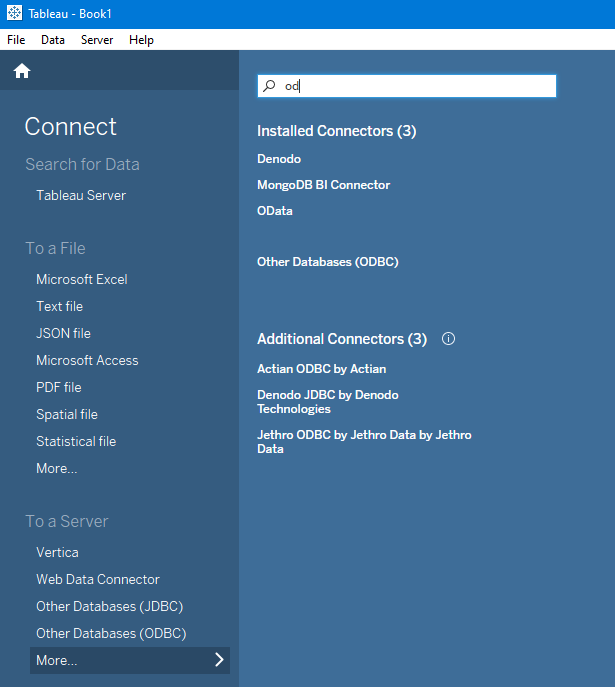
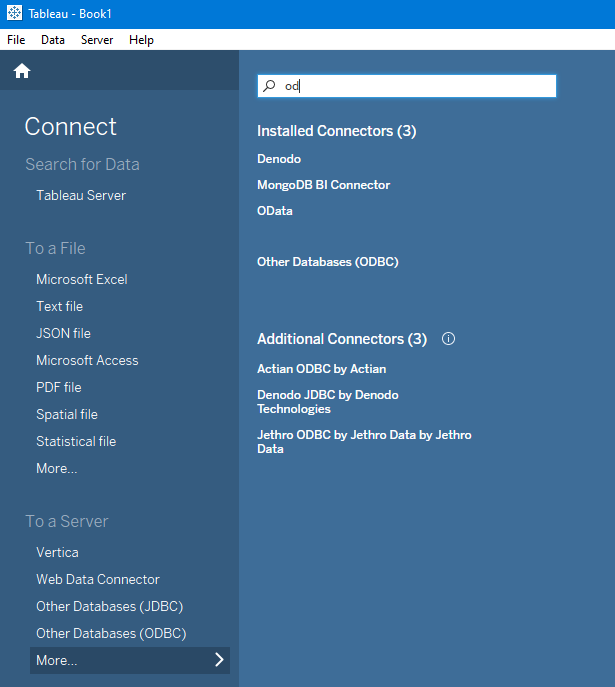
Start Tableau and choose "More..." from the "To a Server" menu on the left menu "Connect".
-
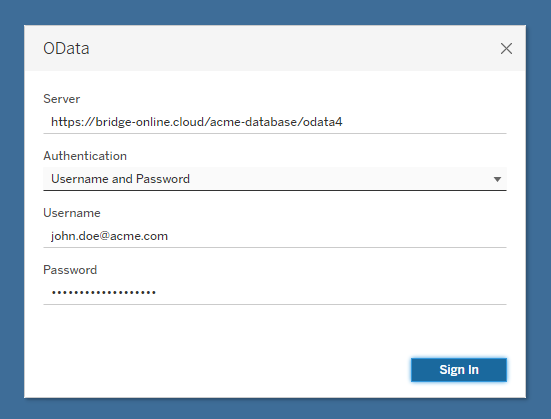
Enter in the window the Bridge Online URL of the Tableau database. This URL containing the data can be found in the Database-form of Invantive Cloud. Choose authentication type "Username and Password". Enter the Invantive Cloud user name and password.
-
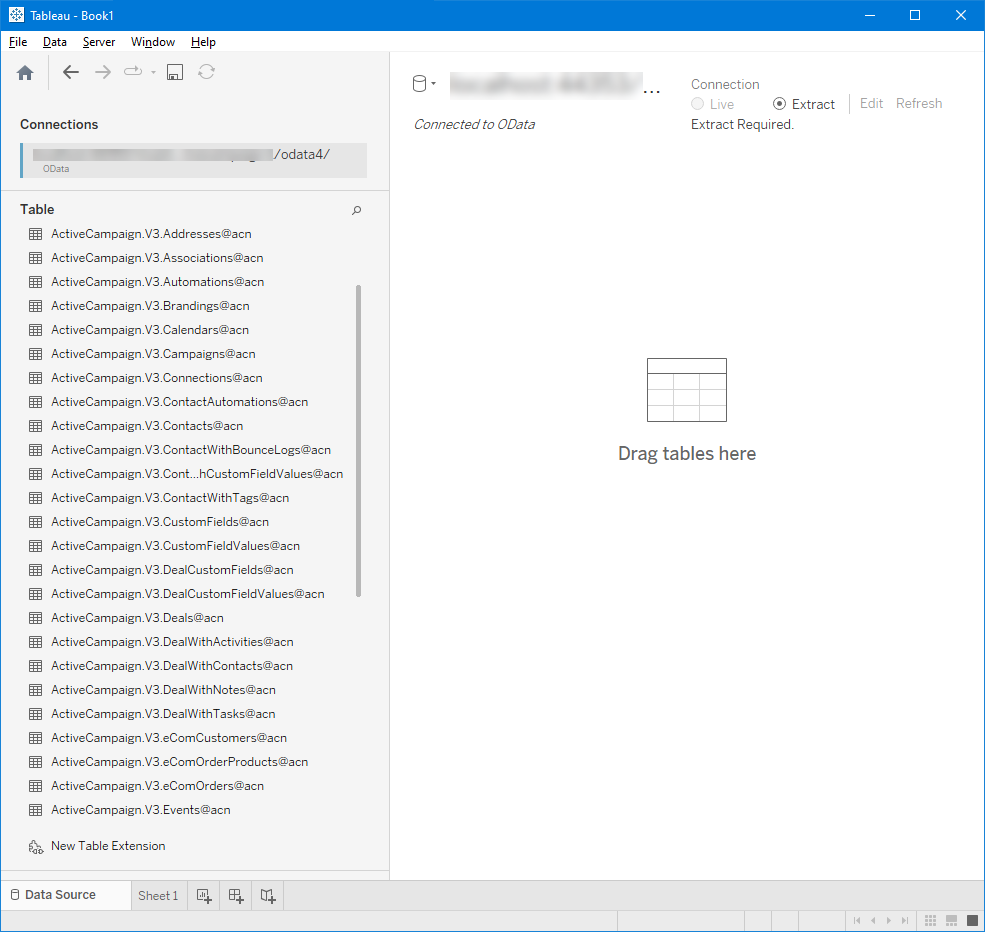
The list of available Mail tables appears. Select the desired tables and construct your Tableau dashboard.
