


Wie verbinde ich Invantive Drive mit Fortnox in 5 Minuten?
Führen Sie die folgenden Schritte aus um Invantive Drive mit Fortnox zu verbinden. Sie brauchen nur Kenntnisse über Invantive Drive, Ihr eigenes Unternehmen und die Fortnox Verwaltung.
Das ERP-System von Fortnox bietet Cloud-basierte Tools für Buchhaltung, Rechnungsstellung, Lohn- und Gehaltsabrechnung und Bestandsverwaltung und ermöglicht kleinen Unternehmen so eine effiziente Automatisierung ihrer Prozesse.
No technical knowledge is needed to show the documents of Fortnox in Windows Explorer with Invantive Drive. This step-by-step plan tells you exactly which steps to go through on Invantive Cloud and on your PC.
Die Schritte zur Verbindung von Invantive Drive mit Fortnox sind:
- Registrieren Sie ein Invantive Cloud-Konto.
- Fortnox Datenbank erstellen
- Install Invantive Drive on Windows.
- Sign in to Invantive Drive and choose the Fortnox database.
- Open your Fortnox documents in Windows Explorer.
Invantive Cloud offers a Fortnox connector for Invantive Drive, and 29 other platforms show their documents in the same folder of Windows Explorer.
Wenn Sie Fragen haben, besuchen Sie bitte die Foren für Fortnox.
Benutzer auf Invantive Cloud registrieren
Überspringen Sie diesen Schritt wenn Sie bereits ein Benutzerkonto bei Invantive Cloud haben. Andernfalls führen Sie die folgenden Schritte einmal aus, um ein Benutzerkonto bei Invantive Cloud zu registrieren:
-
Gehen Sie zur Invantive Cloud-Startseite.
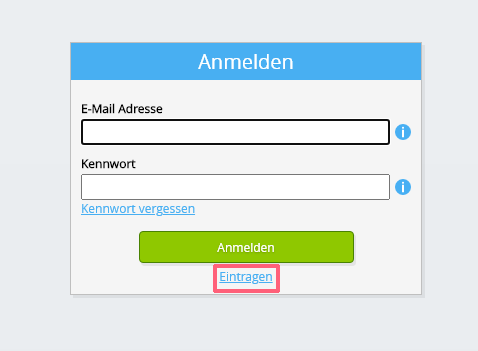
Wählen Sie die Schaltfläche Anmelden.
-
Wählen Sie die Schaltfläche Einschreiben.
-
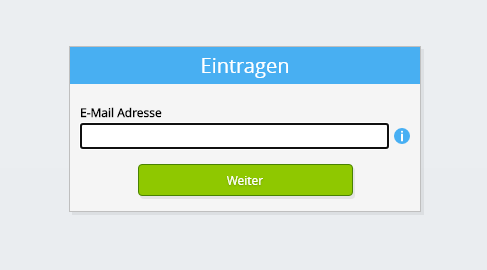
Geben Sie Ihre E-Mail-Adresse ein.
-
Wählen Sie die Schaltfläche Weiter.
-
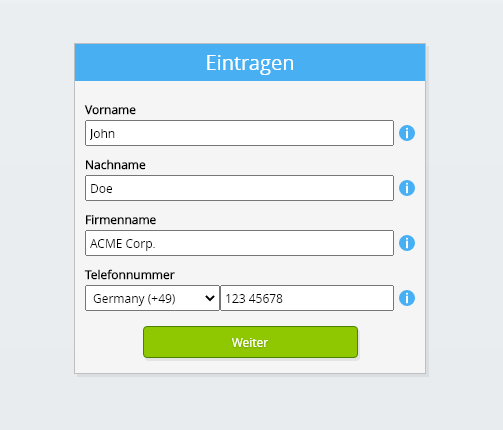
Geben Sie Ihre persönlichen Daten ein.
-
Wählen Sie die Schaltfläche Weiter.
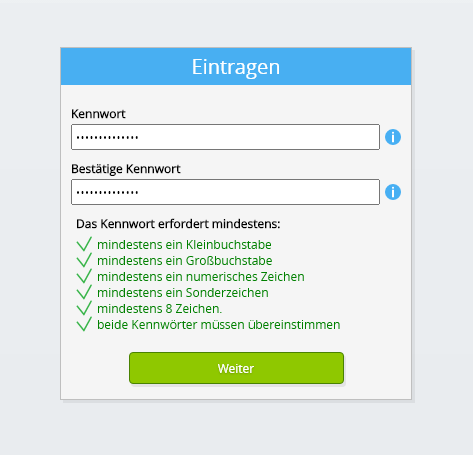
Geben Sie Ihr Kennwort ein und wiederholen Sie das angegebene Kennwort.
-
Wählen Sie die Schaltfläche Weiter.
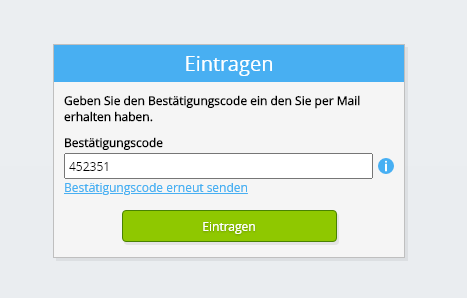
Sie erhalten innerhalb von 2 Minuten einen sechsstelligen Bestätigungscode per E-Mail.
-
Geben Sie den sechsstelligen Prüfcode ein.
-
Wählen Sie die Schaltfläche Einschreiben.
-
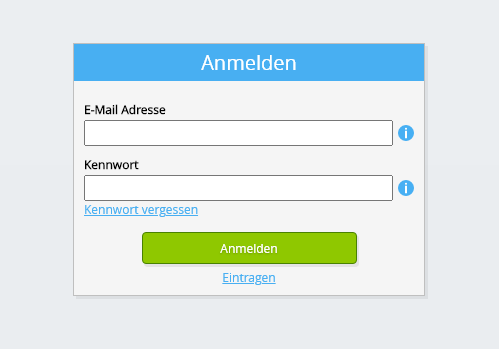
Melden Sie sich jetzt an.
-
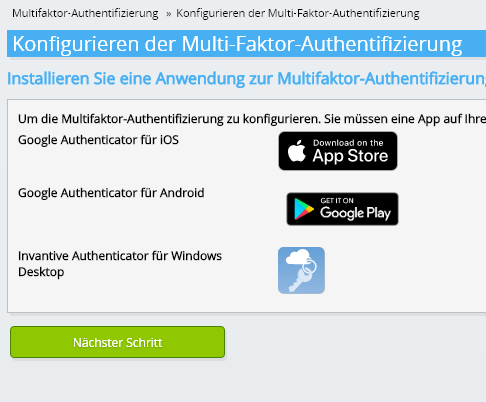
Stellen Sie sicher dass Sie eine Authentifizierungs-App auf Ihrem Telefon installiert haben. Wählen Sie die Schaltfläche Weiter.
-
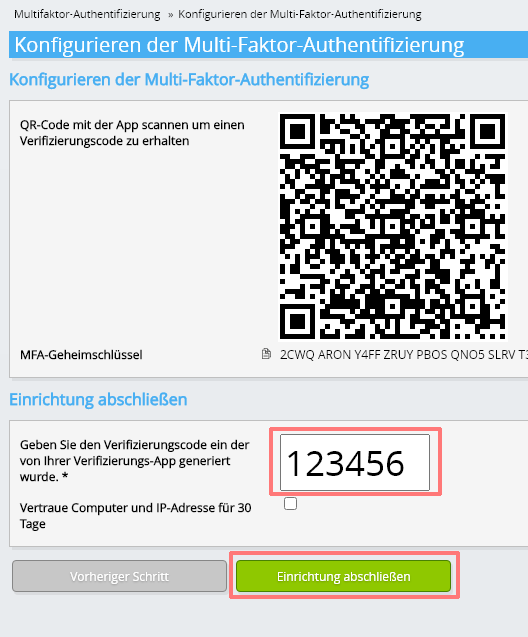
Fügen Sie den angezeigten QR-Code zur Authentifizierungs-App hinzu, geben Sie den aktuellen Verifizierungscode ein und wählen Sie "Fertig stellen".
-
Überspringen Sie die Registrierung der Organisation.
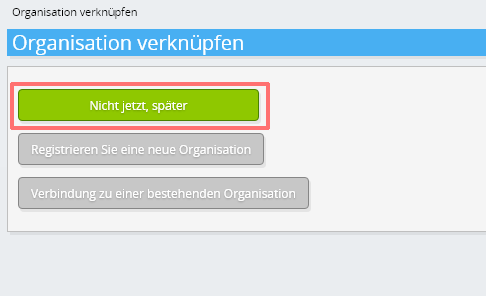
-
Füllen Sie Ihre persönlichen Daten aus und wählen Sie "Speichern".
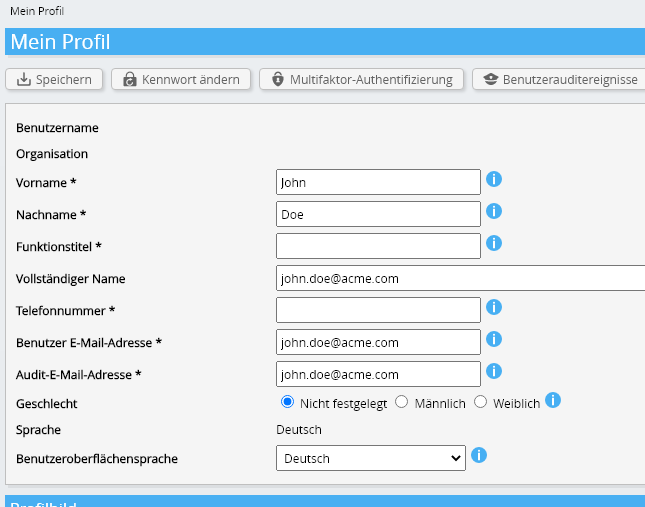
-
Zum Dashboard
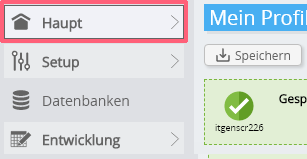
-
Es wird das Invantive Cloud Dashboard angezeigt.
Sie haben jetzt einen Anmeldecode auf Invantive Cloud mit dem Sie die Verbindung mit Fortnox und zahlreichen anderen Plattformen einrichten können. Für alle anderen Plattformen verwenden Sie denselben Invantive-Anmeldecode und Arbeitsablauf.
Fortnox Datenbank erstellen
In diesem Schritt richten wir eine Datenbank mit Daten aus Fortnox ein. Die Datenbank ist "virtuell", da es sich nicht um eine herkömmliche Datenbank handelt, sondern sie wird in Echtzeit von Fortnox gespeist. Invantive Cloud bietet Invantive Drive eine Echtzeitverbindung zu Fortnox. Die Datenbank wird für Ihre gesamte Berichterstattung von Fortnox mit Invantive Drive verwendet. Sie müssen diese Schritte also nur einmal durchführen.
-
Klicken Sie auf die Schaltfläche Datenbank hinzufügen.
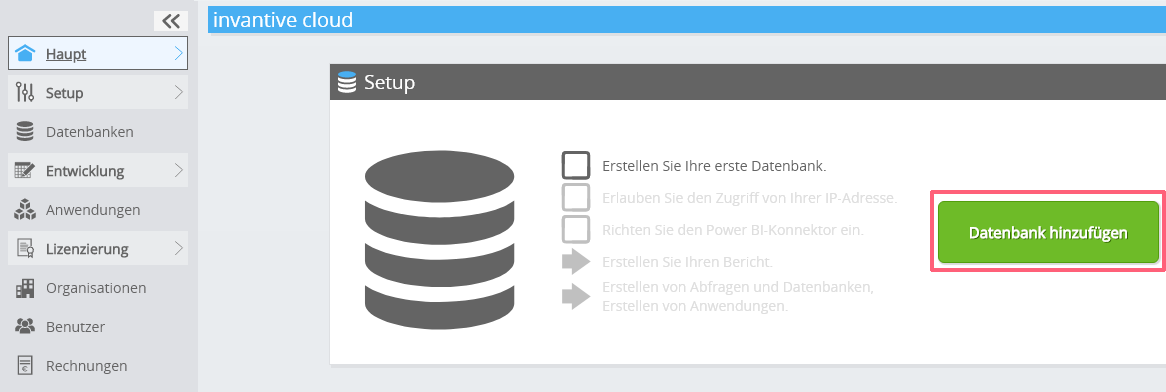
-
Wählen Sie Fortnox aus einer Liste.
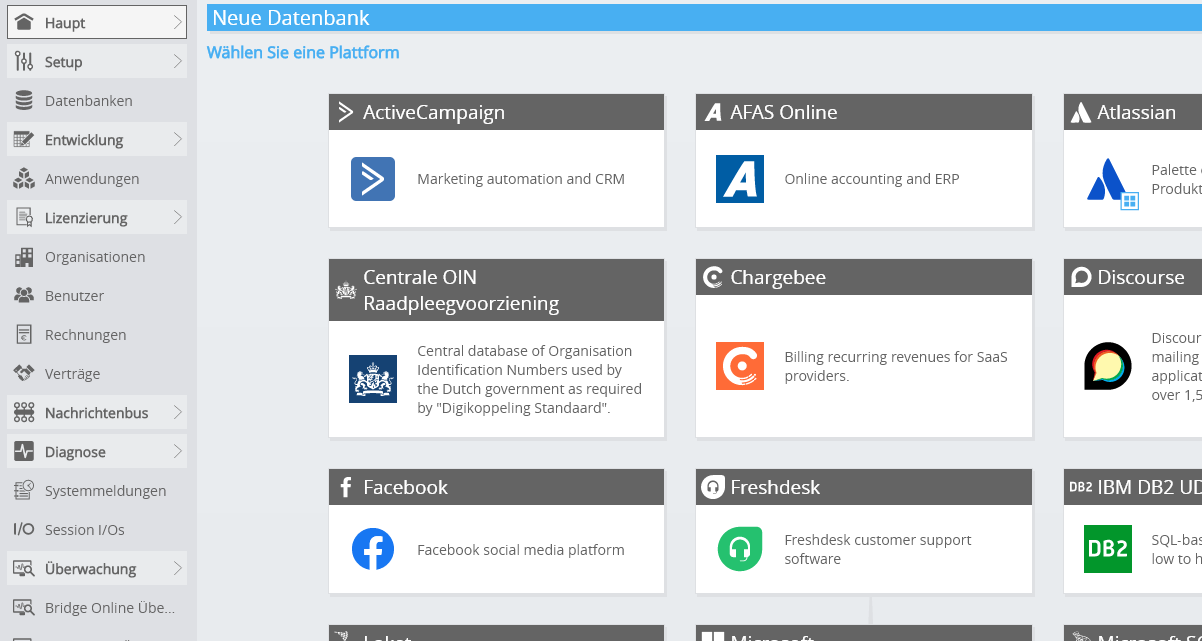
-
Bitte füllen Sie das Formular mit den Anmeldeinformationen für Fortnox aus.
Wählen Sie die OK-Schaltfläche.
Herzlichen Glückwunsch! Sie können jetzt Daten von Fortnox innerhalb der Invantive Cloud-Website verarbeiten. Sie können dies zum Beispiel mit dem interaktiven SQL-Editor tun.
Install Invantive Drive on Windows
Invantive Drive is a small Windows program. It registers a folder named Invantive Drive in Windows Explorer and fetches a document from the platform the moment you open it, the way OneDrive and Google Drive work.
-
Download the installer of Invantive Drive and run it.
Follow the installer; no settings are needed.
After the installation, Windows Explorer shows a folder named Invantive Drive under This PC, and the Invantive Drive window opens.
Sign in to Invantive Drive and choose the Fortnox database
Invantive Drive signs in with your Invantive Cloud account and lists the databases of that account. Pick the one you created in the previous step.
In the Invantive Drive window, choose Sign in and enter your Invantive Cloud user name and password, plus the code of your authenticator app when asked.
Choose Add database and select the Fortnox database from the list.
A folder named after the Fortnox database appears under Invantive Drive in Windows Explorer, with a subfolder per company and per kind of document.
Open your Fortnox documents in Windows Explorer
Explorer lists the names, dates and sizes of the Fortnox documents. A document is fetched the moment you open it.
- Online only: listed in Explorer, fetched when you open it, no disk space.
- Kept on this device: you opened it or marked it to keep, so it also works without internet.
Each app is a folder and each company a subfolder. A document is fetched the moment you open it.
Browse to a folder and double-click a document; it opens in the program Windows uses for that kind of file.
A cloud icon marks a document that is online only and takes no disk space; a green check mark one that is kept on this device. Right-click a document to keep it on this device or to free up space.
Right-click a document and choose Open in Fortnox to jump to it on the platform, where the platform offers a web page for it.
The Fortnox folders are read-only: Fortnox does not accept files from outside, so nothing is changed or deleted by accident.
What Invantive Drive Can And Cannot Do
Invantive Drive shows documents; it does not copy or move them. A document is fetched only when you open it, and every fetch is an ordinary request to Fortnox within the limits of your subscription. Only a platform that accepts uploads takes a changed file back; the folders of the other platforms are read-only.
Invantive Drive runs on Windows. On any other device the file browser in Invantive Cloud shows the same folders in your web browser.